About this tutorial
|
About this Tutorial |
This tutorial explains how to use the aXes Developer Tools (TS2) to make basic enhancements to 5250 application screens. You will learn how to open the Developer Tools, identify screen elements, modify them, and preview your results. The tutorial introduces the core features of the Developer environment and how to improve screen layouts for clarity and usability. |
|
Objectives |
After completing this tutorial, you will be able to: Open and use the aXes Developer Tools. Understand the structure of a 5250 screen within the Designer. Hide, rename, move, and align existing fields. Add and edit user fields. Create and run scripts. Use trace, debug, and browser tools to troubleshoot enhancements. |
|
Prerequisites |
You have access to an aXes environment with Developer Tools enabled. You have completed Tutorial 2 – Introduction to aXes Development. You have a basic understanding of 5250 screen structures. The target application is available for modification and testing. |
Opening the aXes Developer Tools
Log in to your aXes session.
From the toolbar, select Developer Tools.
The Developer interface opens, showing the screen design area, properties, and toolbar.
The Developer Tools provide several modes:
- Design Mode: to change field layouts and add user elements.
- Preview Mode: to test enhancements before deployment.
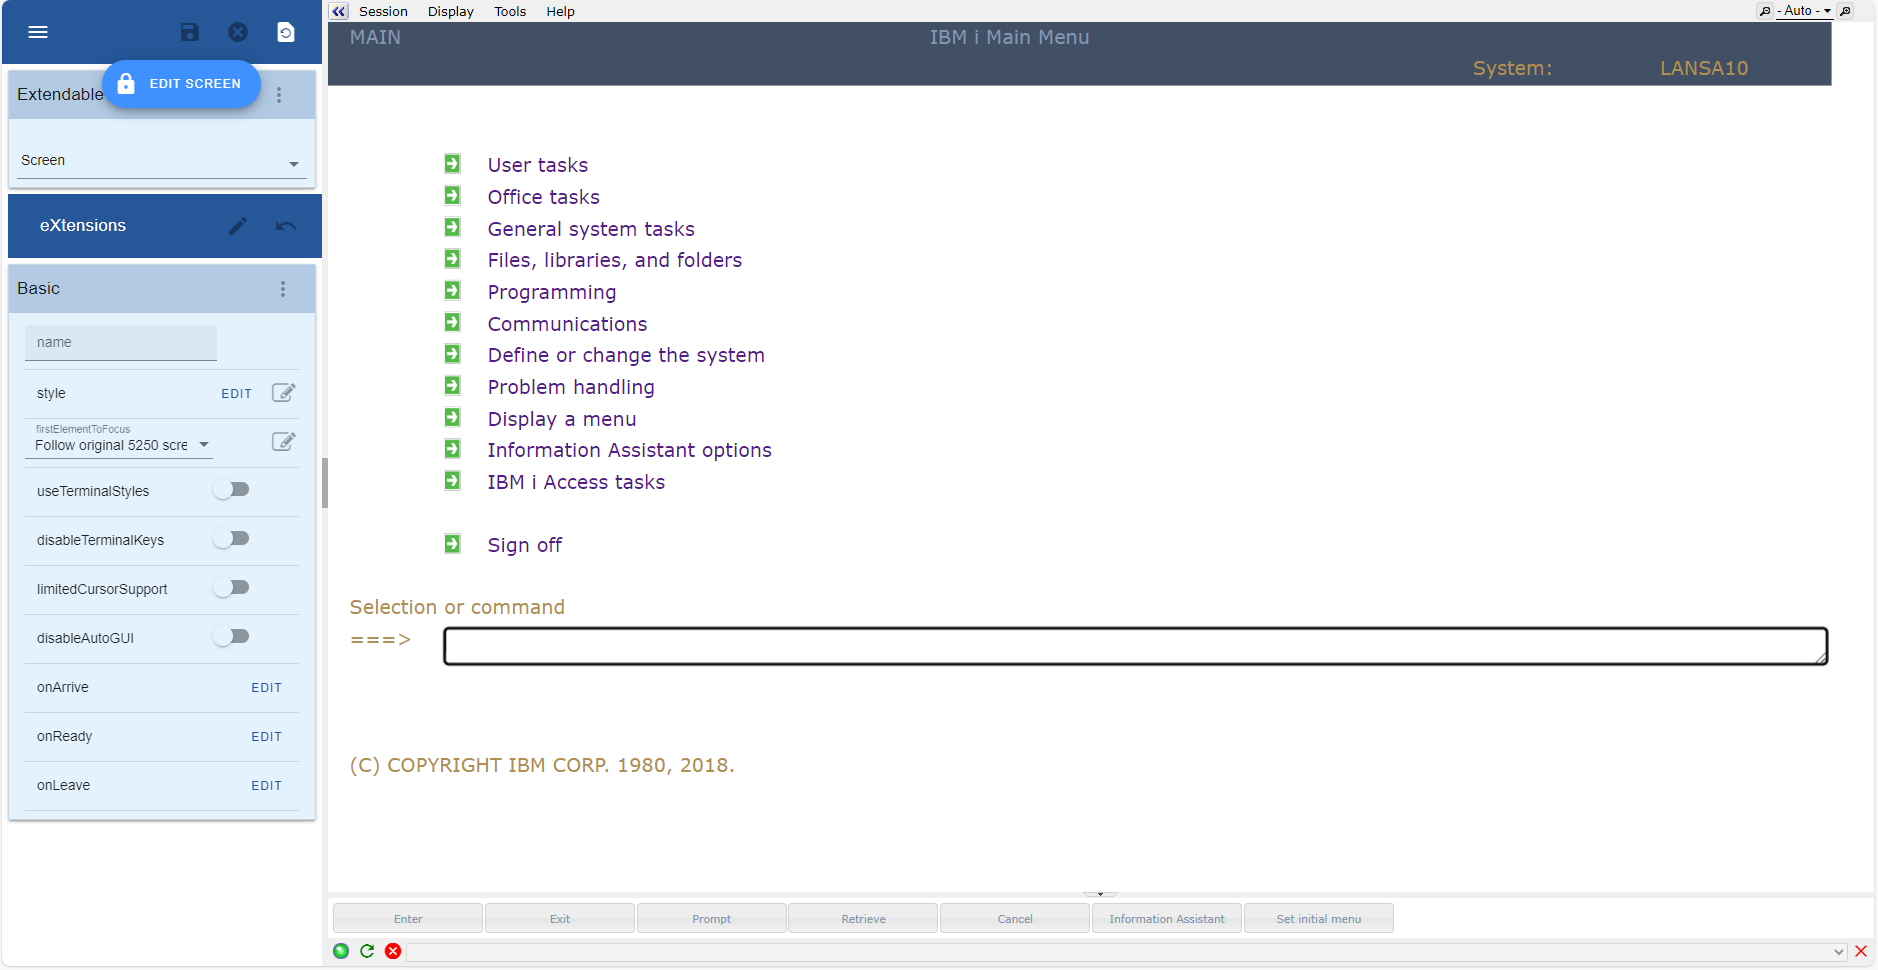
- Runtime Mode: to run the application as end users will see it.
Use Design mode for modifications and Preview mode to test your changes.
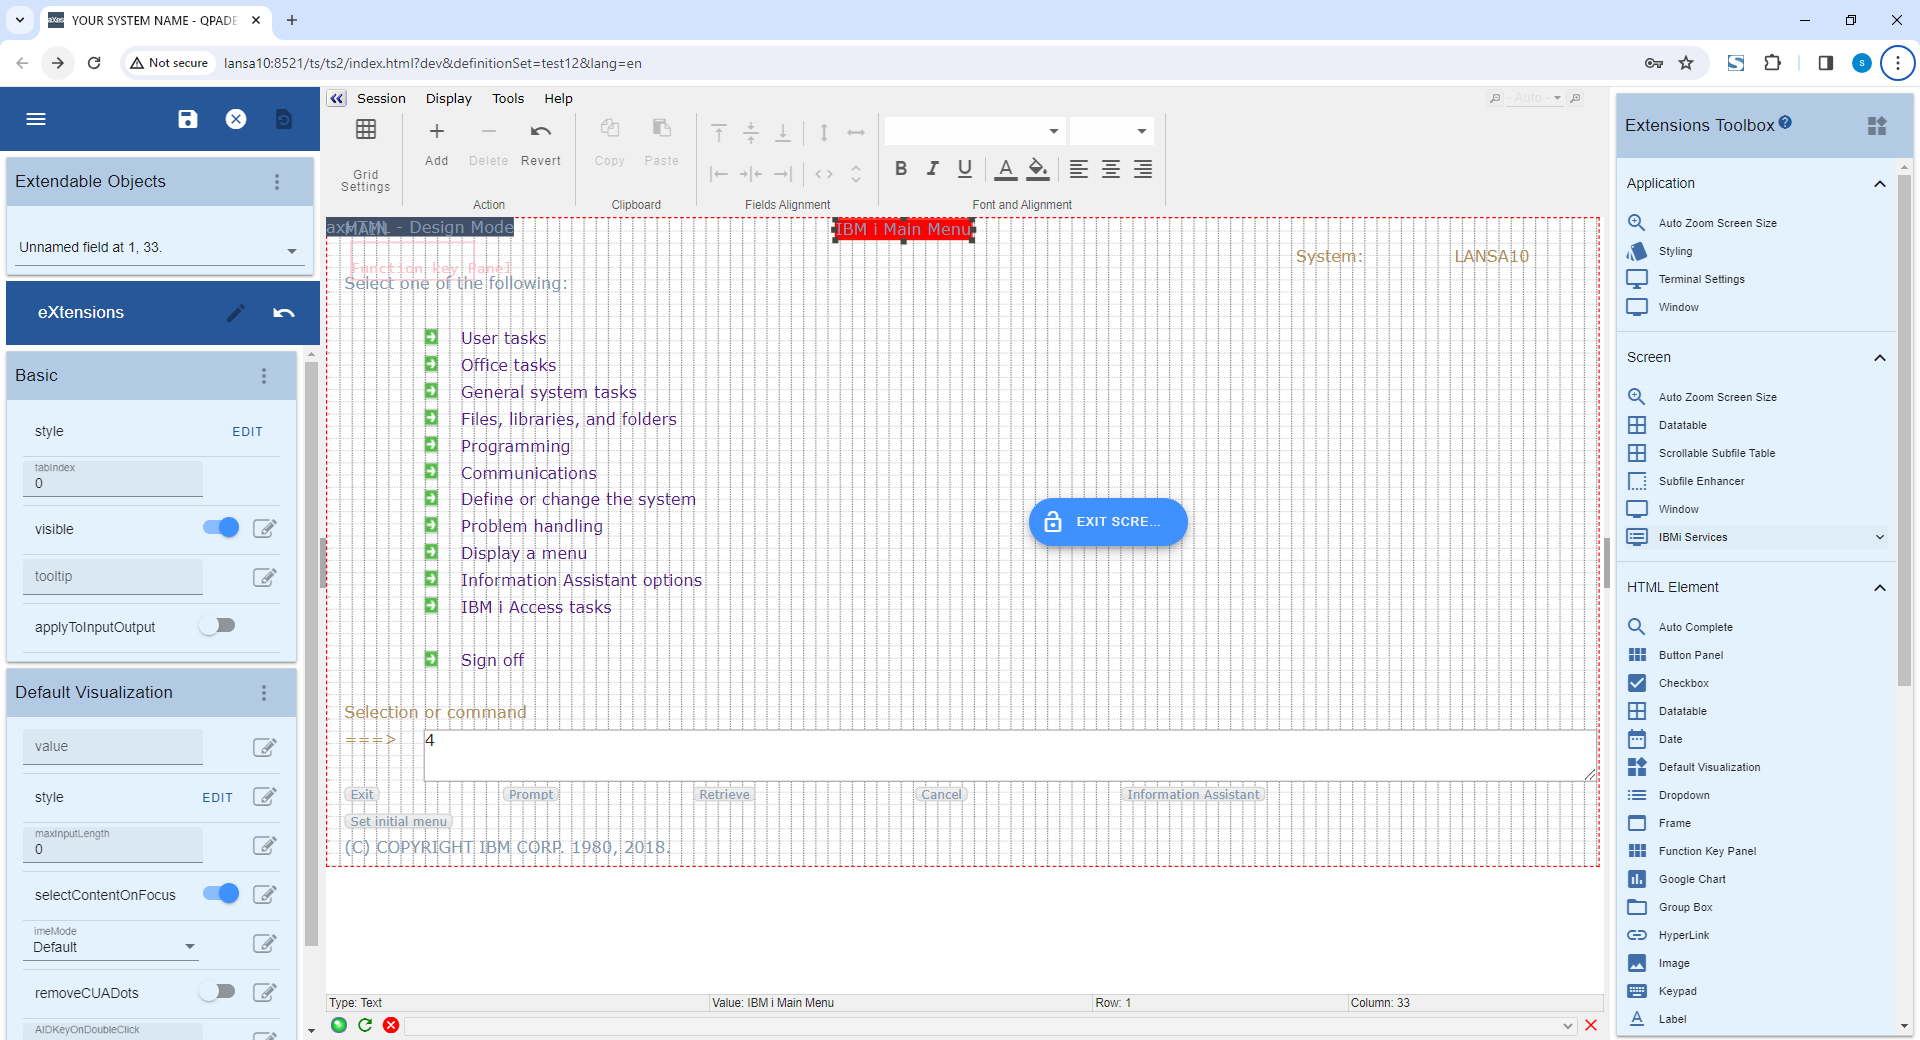
Understanding the Interface
The Developer window includes:
- The Design area, which displays the 5250 screen layout.
- The Screens tab, which lists screens and allows navigation.
- The Properties panel, which shows details for the selected element.
- The Toolbar, with options for alignment, layering, and adding user fields.

Tip
Use the Screens tab to rename or identify each screen as you edit them.
Identifying and Modifying Fields
To enhance a screen, you must first identify its fields.
Click any field in Design Mode to see its name, position, and properties in the Properties panel.
You can
- Hiding unused elements.
- Renaming labels or fields for clarity.
- Moving and resizing fields.
To rename a field:
Select the field in Design mode.
In the Properties panel, edit the Name or Label value.
Save your changes.
To hide a field, right-click the field select Hide.
Hidden fields remain available in the screen structure but are not visible at runtime.
Using the Screens Tab
The Screens tab lists all the screens available for customization.
Each screen can be renamed, grouped, or organized to match your application logic.
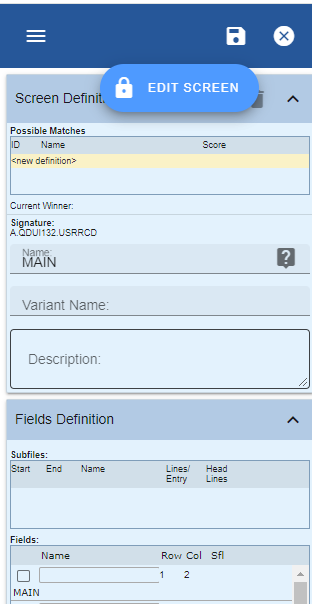
To rename a screen:
Enter a new name in the field at the top of the panel.
Press Enter to confirm.
The name is used by the aXes runtime environment to identify the customized screen.
You can also use the Screens tab to switch quickly between screens and verify that any field or user object belongs to the correct screen.
Adding and Managing User Fields
User fields allow you to display additional information or create interactive elements not present in the original 5250 screen.
To add a user field:
1. In the toolbar, click Add User Field.
2. Drag the new field to the desired position.
3. Adjust size, text, and alignment in the Properties panel.
To delete a user field, select it and press Delete or right-click and choose Remove Field.
User fields can be styled and scripted to perform actions such as navigation or field updates.
Alignment and Layout Tools
Use alignment tools to maintain a professional and readable layout.
Options include:
- Align Left, Align Right, Align Top, Align Bottom.
- Distribute Horizontally, Distribute Vertically.
- Match Width/Height.
When multiple fields are selected, the alignment actions apply relative to the first selected field.
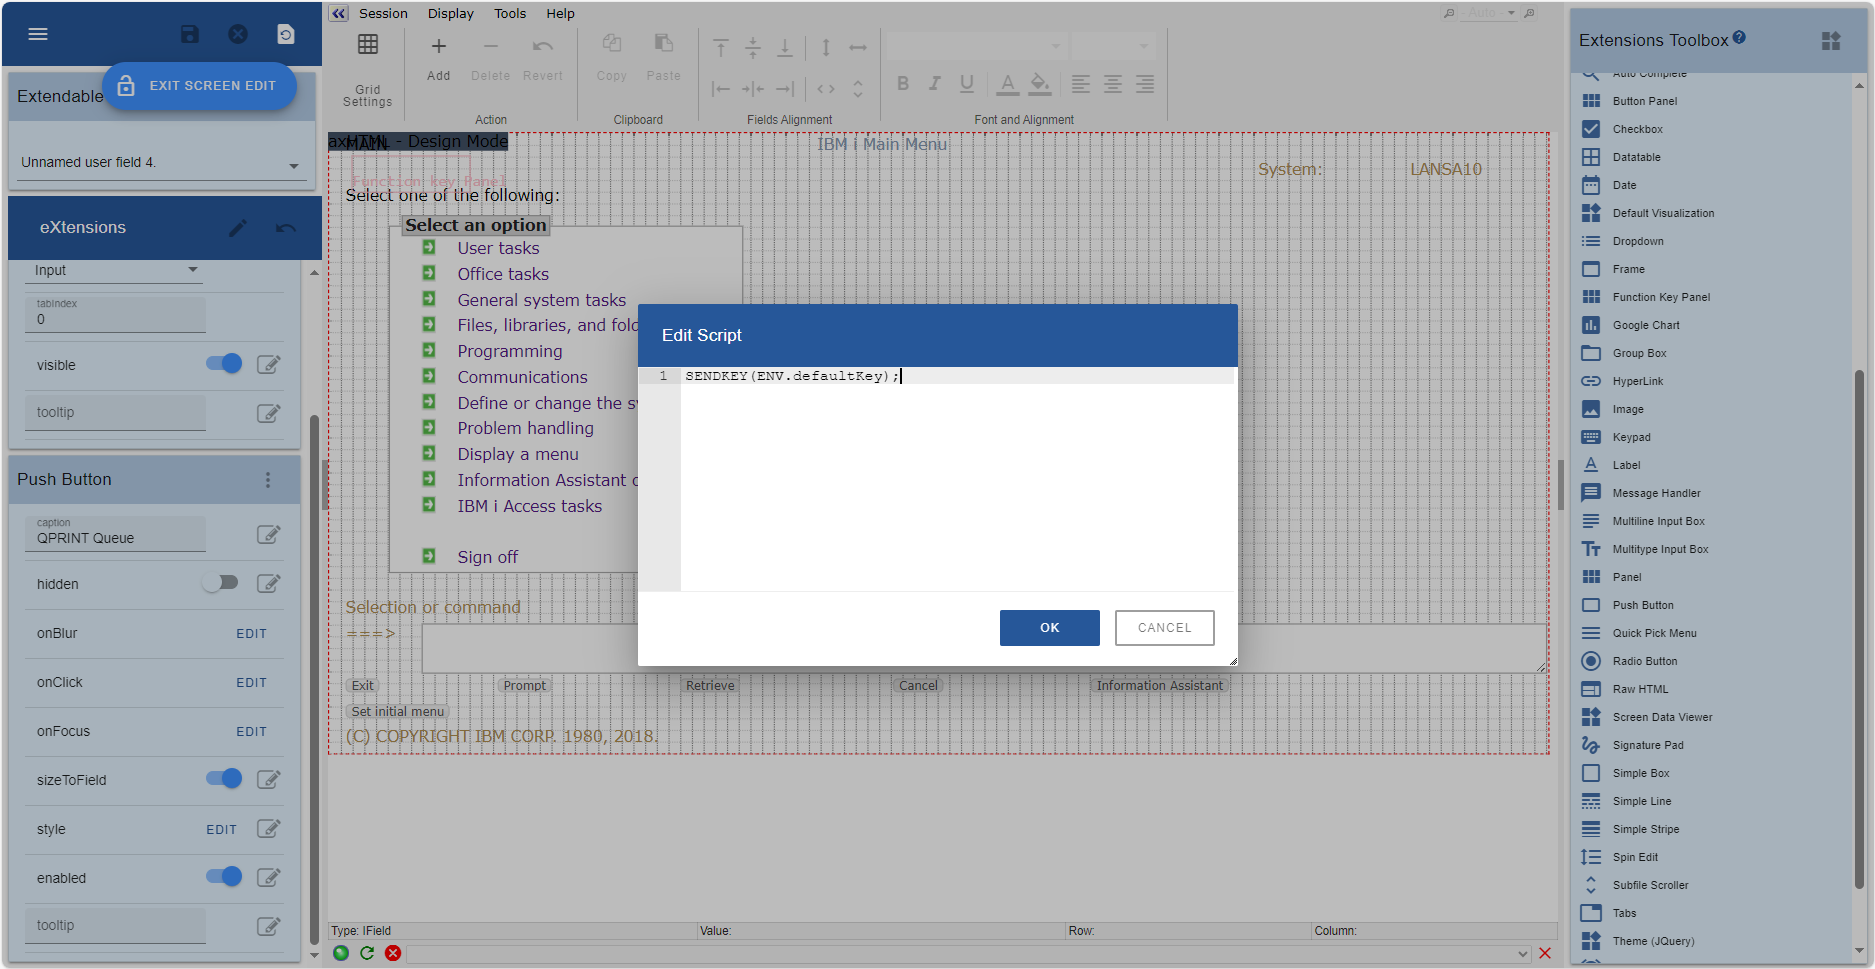
Scripting and Event Handling
Scripts add behavior and interactivity to 5250 screens.
They are written in JavaScript and attached to screen events such as onLoad, onClick, or onChange.
Screen Customization
You can customize both automatically generated fields and user fields.
Customize an Automatically Generated Field
1. Select an Unnamed (generated) field on the screen.
2. Choose Customize Field. The default visualization properties become editable.
3. Click Edit Style… to open the style editor.
4. Define or add custom styles.
5. Click OK, then click Save in the Extensions tab to keep the changes.
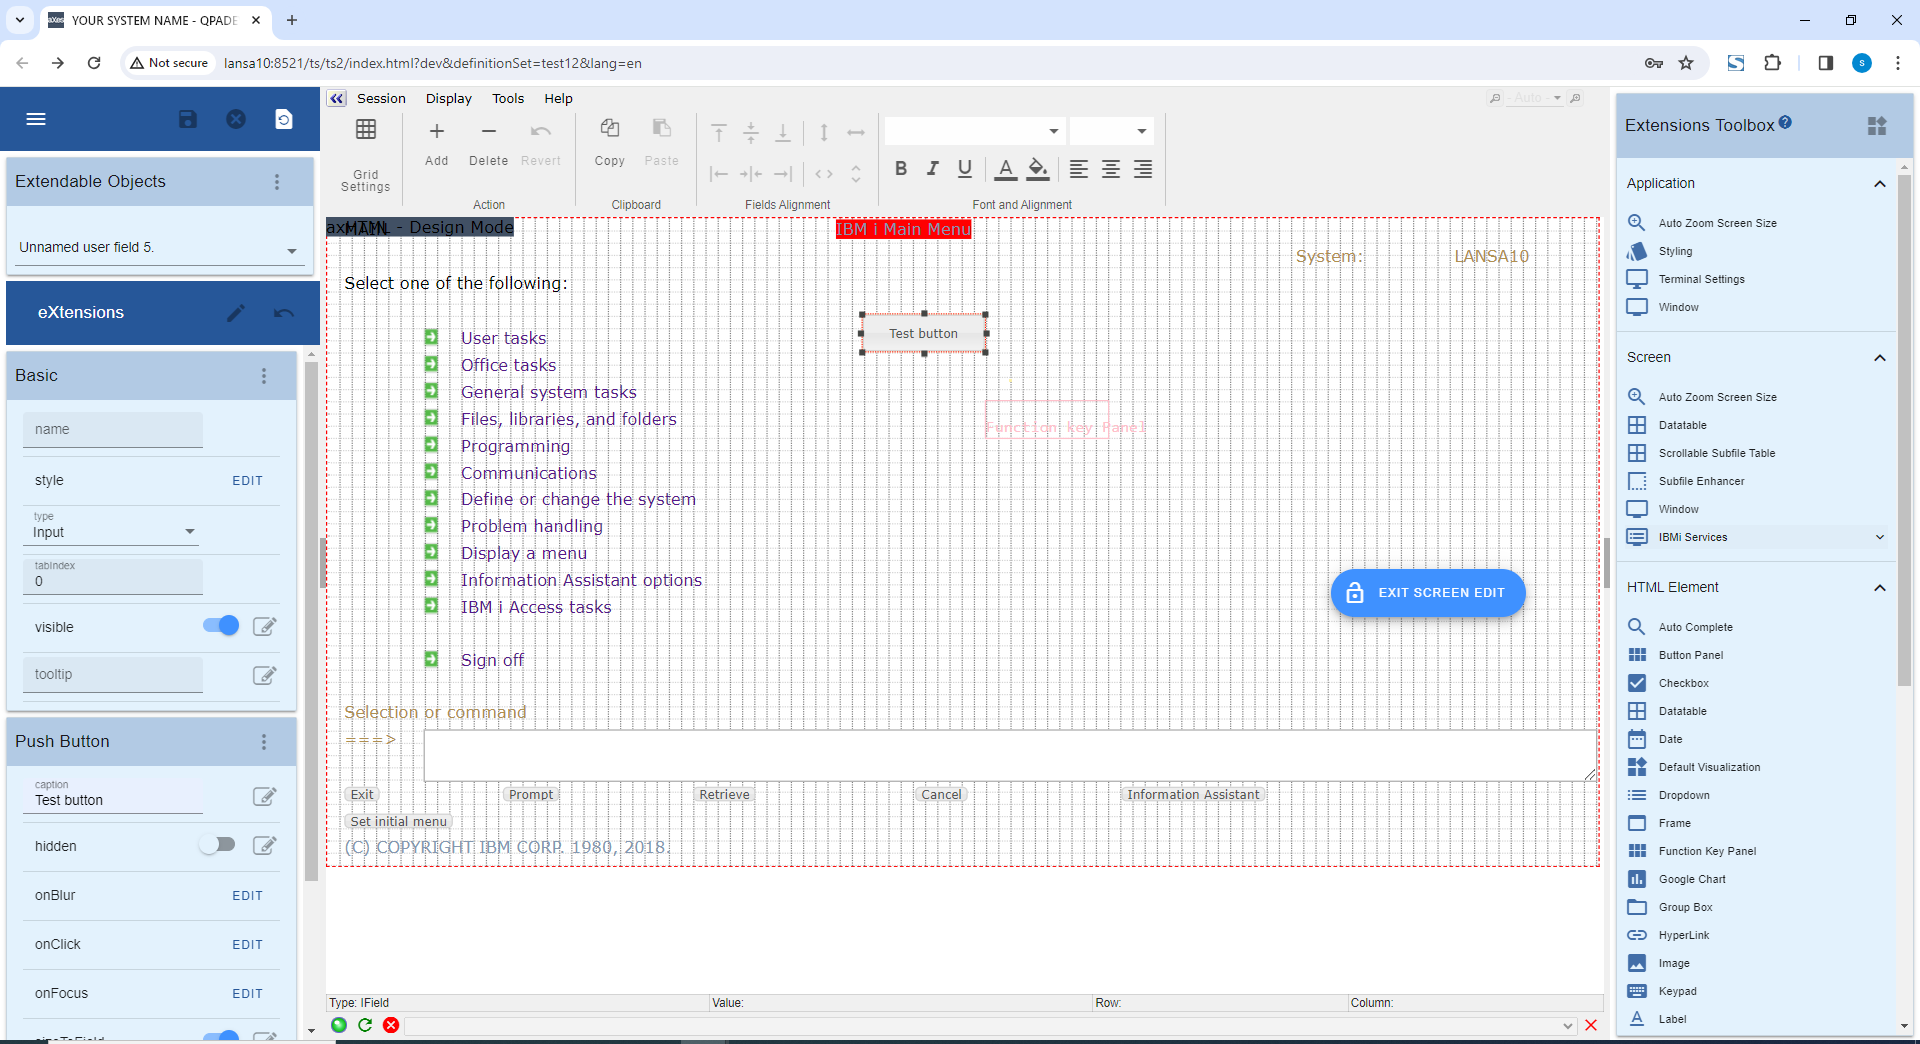
Add and Customize a User Field
1. Click Add User Field.
2. Drag the new user field to the desired location on the screen.
3. Double-click the user field to open the Add Extension dialog.
4. Select Push Button (or another extension) and click Add.
5. Fill the properties: caption, styles, and events (for example, onClick).
6. Save your work.
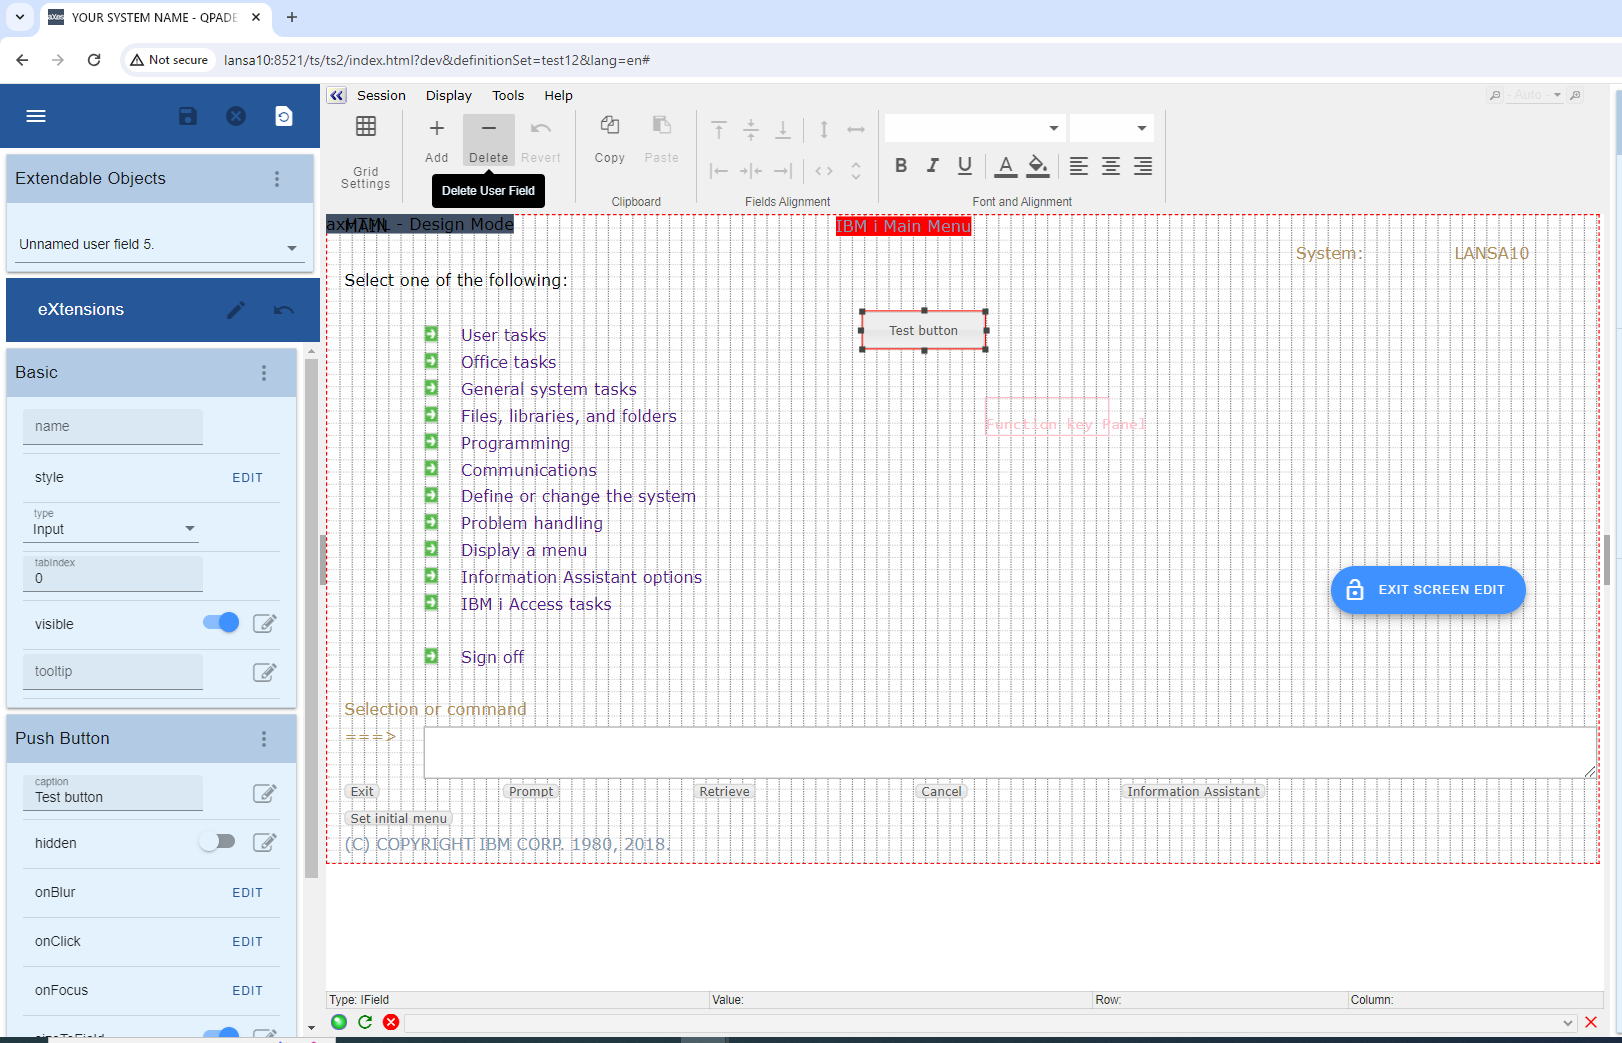
Delete a User Field
You can delete user fields, but not automatically generated fields.
1. Select a user field.
2. Choose Delete User Field. The option will be enabled only for user fields.
Field Customization
You can substitute a generated field's default visualization with other extensions.
1. Select the generated field and click Customize Field.
2. Double-click and choose Add eXtension.
3. Select the desired extension (for example, Push Button) and click Add.
4. Only the chosen extension remains in the field area. Save your changes.
id="Picture 546" src="/images/tutorials/tutorial15_files/image_21.png" width="35%" height="35%">
Revert to Default Visualization
1. Click Revert to Default for the selected field.
2. The field returns to its original visualization.

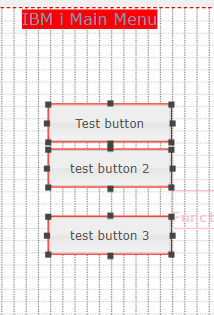
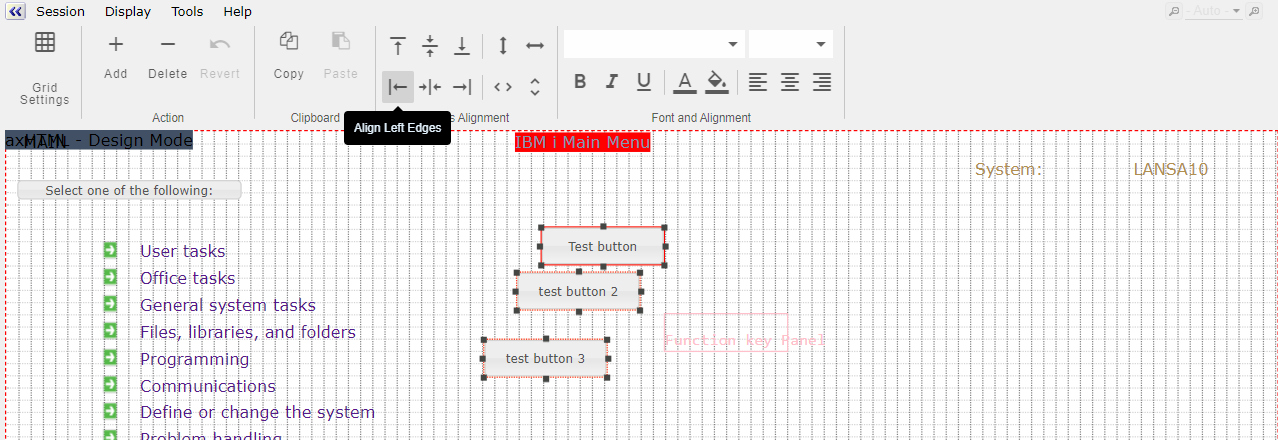
Alignment Tools
Use alignment tools to align multiple selected extension items.
1. Select multiple fields or extensions.
2. The alignment menu becomes available.
3. Choose an alignment action (for example, Align left edges).