About this tutorial
|
Objectives |
In this tutorial, you will learn about checking your PC and browser requirements, verifying your aXes installation, and setting up a project. |
|
Prerequisites |
Successful aXes installation |
|
Outline |
Check development PC Check Internet Explorer settings Check aXes demo library and server settings Set up a project |
Check your development PC is ready
To do application development using eXtensions you need to have an up to date development PC. Complete this checklist:
|
PC Check List |
Notes |
|
Core 2 Duo class processor, equivalent or better with 2Gb RAM or more |
You can use eXtensions on systems below this recommended specification, but your development activities will be impacted accordingly. You should consider upgrading your development system. |
|
Screen resolution of 1440×1080 or better |
There are productivity and ease of use benefits to be gained by using a wide screen monitor or multiple side-by-side monitors when doing any type of IT application development. Any form of IT application development on a low-resolution monitor (eg: 1024x768) will take longer and be more cumbersome than it needs to be. |
|
Windows 8 or later. |
|
|
A supported browser |
Firefox (latest version), Chrome (latest version), Internet Explorer Version 11. |
Check your Internet Explorer settings
To do aXes application development you may want to use Internet Explorer 11.
Complete this Internet Explorer checklist if you do. This is not required if you are using another supported browser.
|
Internet Explorer Check List |
|
Check that Internet Explorer's SmartScreen Filter is turned off. Use the Safety button to view the status of your Internet Explorer SmartScreen Filter. If it is turned on then turn it off. The off setting is strongly recommended for application developers to avoid Internet Explorer failures. |
|
Check that the aXes server is in your trusted sites list. Open your browser. Use Tools -> Internet Options -> Security tab. Select Trusted sites, and click the Sites button. In this example http://lansa10 is the aXes server root address, so it was added: 
|
|
In order to see the changes you make immediately, ensure that you are not using cached pages. To do this, click on the Settings button in the browsing history section of the General tab, and then select the option to check for newer versions of stored pages, every time I visit the webpage: 
|
|
Check that any pop up blocker(s) you have installed does not block pop ups initiated by scripts loaded from your aXes server. |
Check that library AXESDEMO is installed and useable
To complete the eXtensions tutorials you must have library AXESDEMO installed on your system.
The aXes demonstration material is installed by option 99 during an aXes install.
Perform this check before starting any eXtensions tutorials:
|
Check for AXESDEMO Library |
|
Sign on to a 5250 screen. |
|
Run the command ADDLIBLE AXESDEMO |
|
Run the command CALL XHRRPGTRN |
|
The resulting 5250 display should look like this: 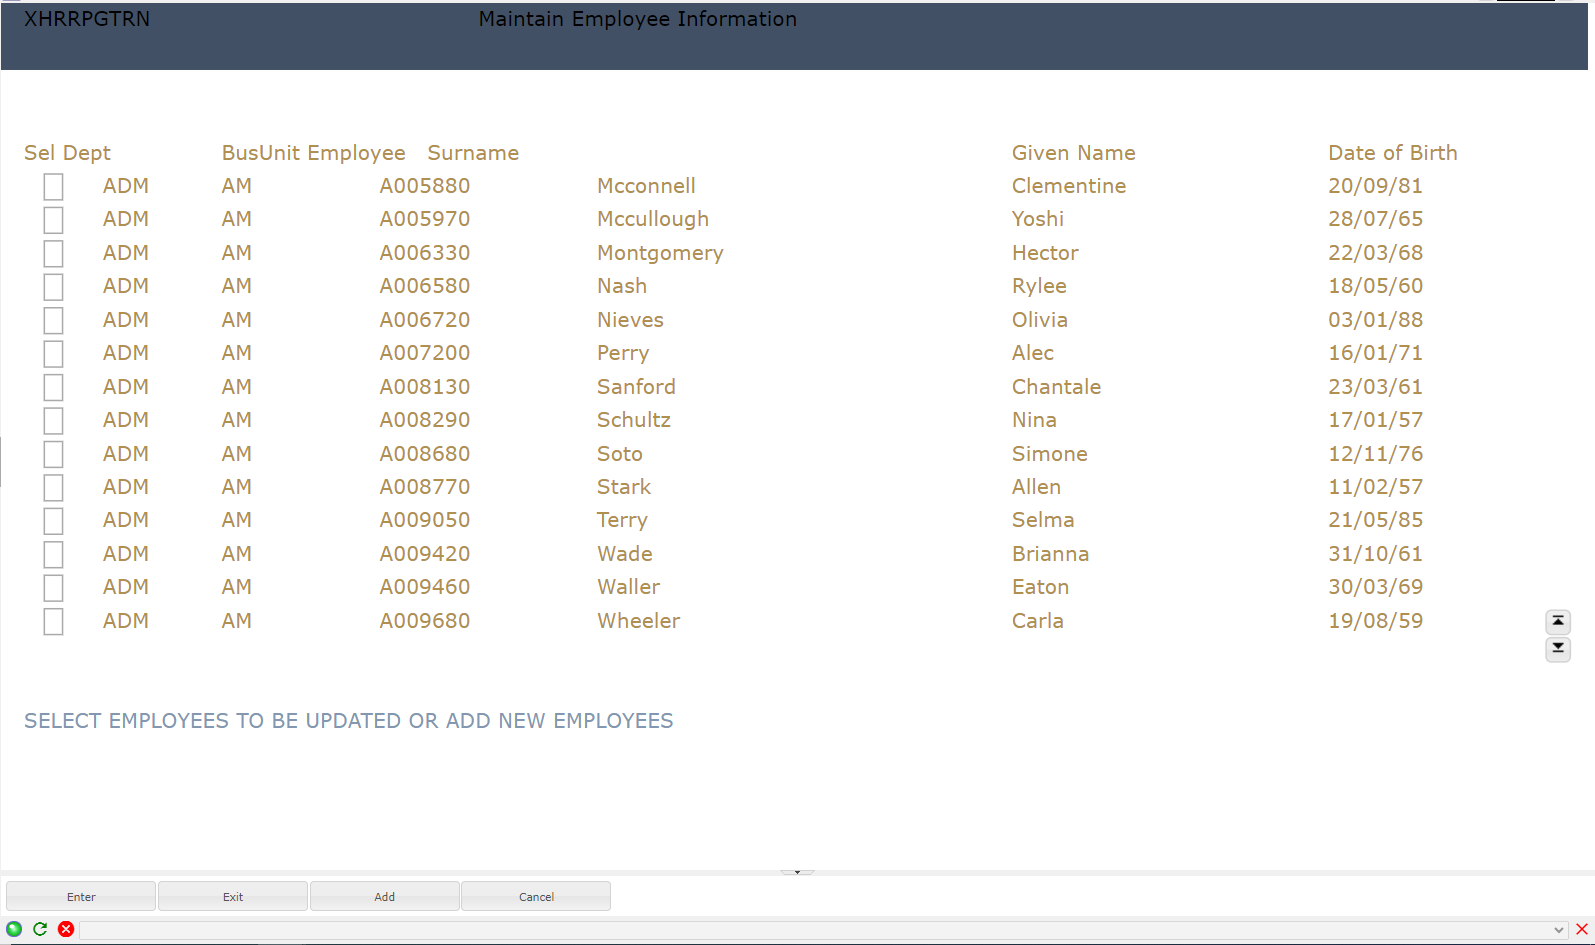
|
The eXtensions tutorials will use these objects from the AXESDEMO library:
|
Object |
Type |
Comment |
|
XHRRPGTRN |
*PGM |
5250 Employee Maintenance Program |
|
XHRRPGTRND |
*DSPF |
Display file used by program XHRRPGTRN |
|
XHRBU |
*PF |
Physical file of Business Units |
|
XHRBU01 |
*LF |
View of Business Units |
|
XHRDEPT |
*PF |
Physical file of Departments |
|
XHREMPTN |
*PF |
Physical file of Employees |
|
XHREMPTN01 |
*LF |
View of Employees |
|
XHREMPTN02 |
*LF |
View of Employees |
Check your aXes Server settings
|
Check aXes HTTP Server Settings |
|
Locate your aXes HTTPD.XML configuration file. Typically, it is located in folder /axesjsm/jsm/instance/system and named httpd.xml |
|
Locate the directive <parameter name="device.system.name" value="YOUR SYSTEM NAME"/> Replace "YOUR SYSTEM NAME" with your server name. For instance AXESDEMO |
Set up an eXtensions project
Create a new short cut onto your workstation's desktop:
|
Location |
http://<your aXes host>:port |
|
Name |
aXes Home Page |
Replacing <your aXes host> with the appropriate IP address and port number. For example: http://lansa10:8521
Use the new shortcut to open the aXes Home Page. Click on Developer Tools in the top bar.
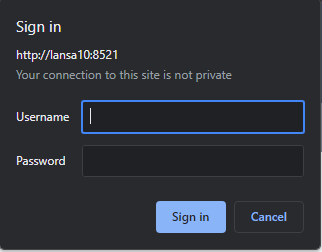
When requested, enter the aXes developer user profile and password.
|
The shipped defaults are, User Name: dev Password: dev You should change these default values. Refer to the link below for more information Change the default password for developer tools projects |
The aXes Projects List should now be displayed, something like this:
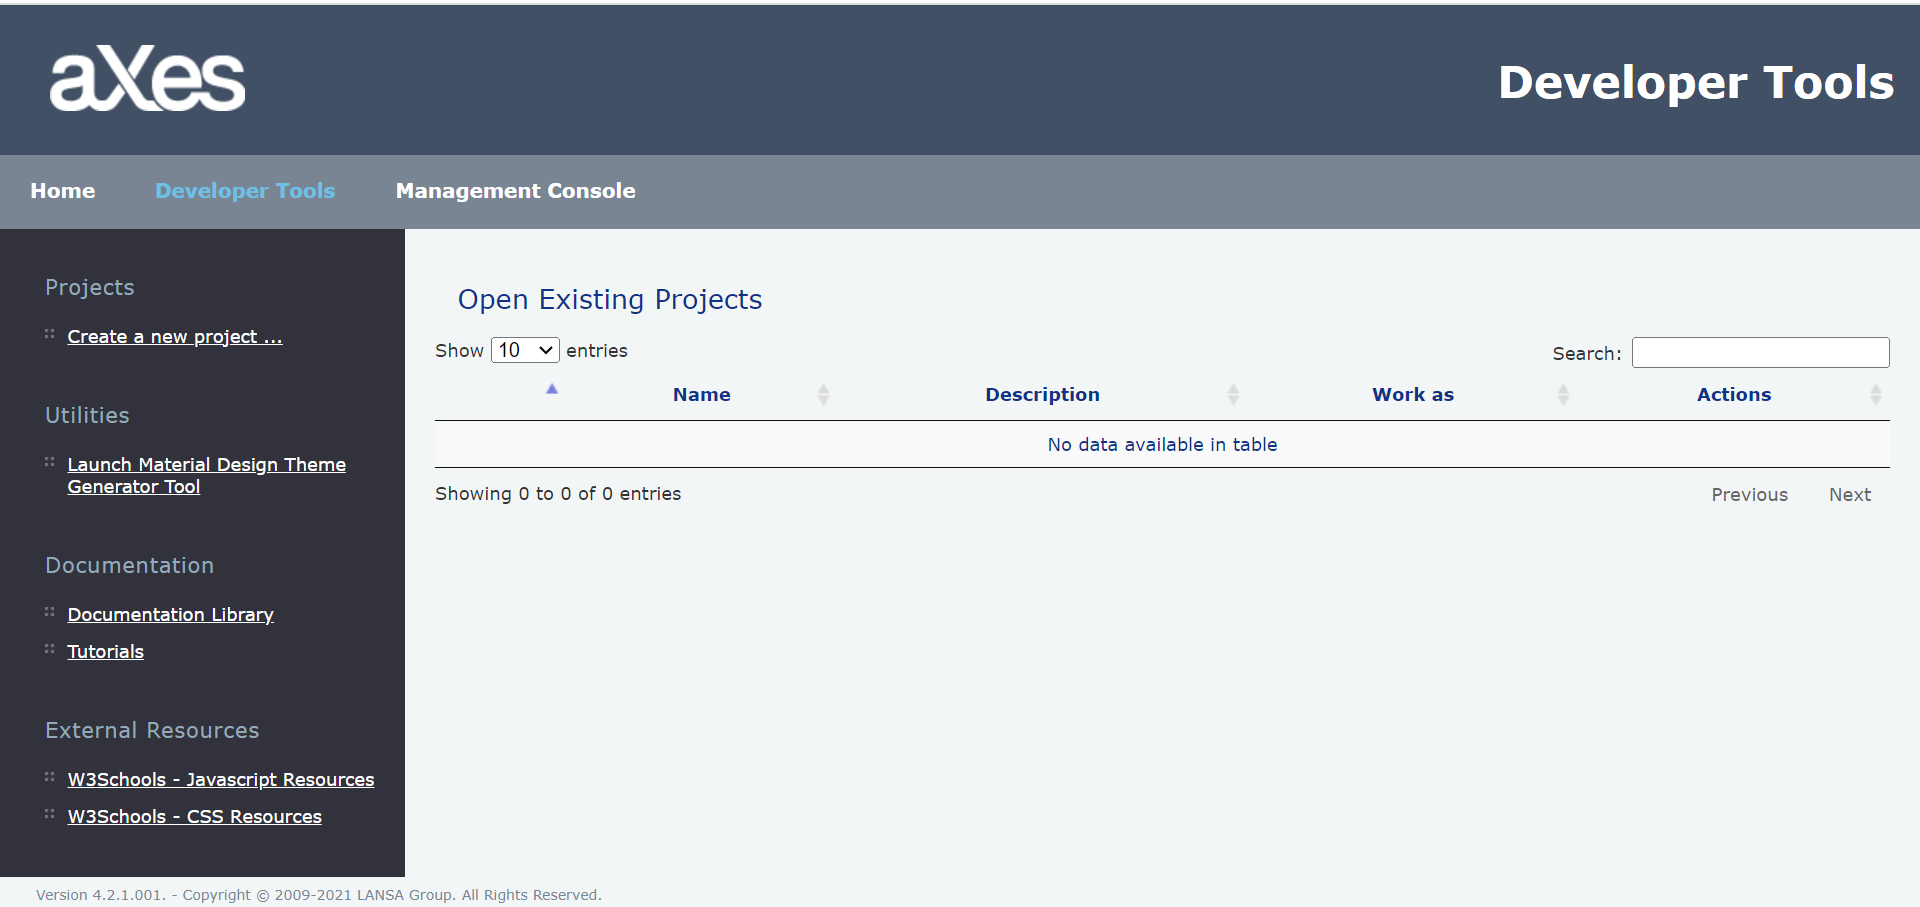
Decide on a unique name for your aXes project.
Your chosen project name should be short and consist of only letters from the English alphabet and numbers. For example, MyProject1 or PaulProject2 would be good names. If existing projects are shown in the list on the right, use a name for your new project that is not already shown in the list.
Click on the Create a new Project … option.
The resulting display should look like this:

Note the warning about backing up your IFS project folders.
Enter a name and description for your project.
Do not check VLF-ONE RAMP project tick box.
Then click the Create Project button.
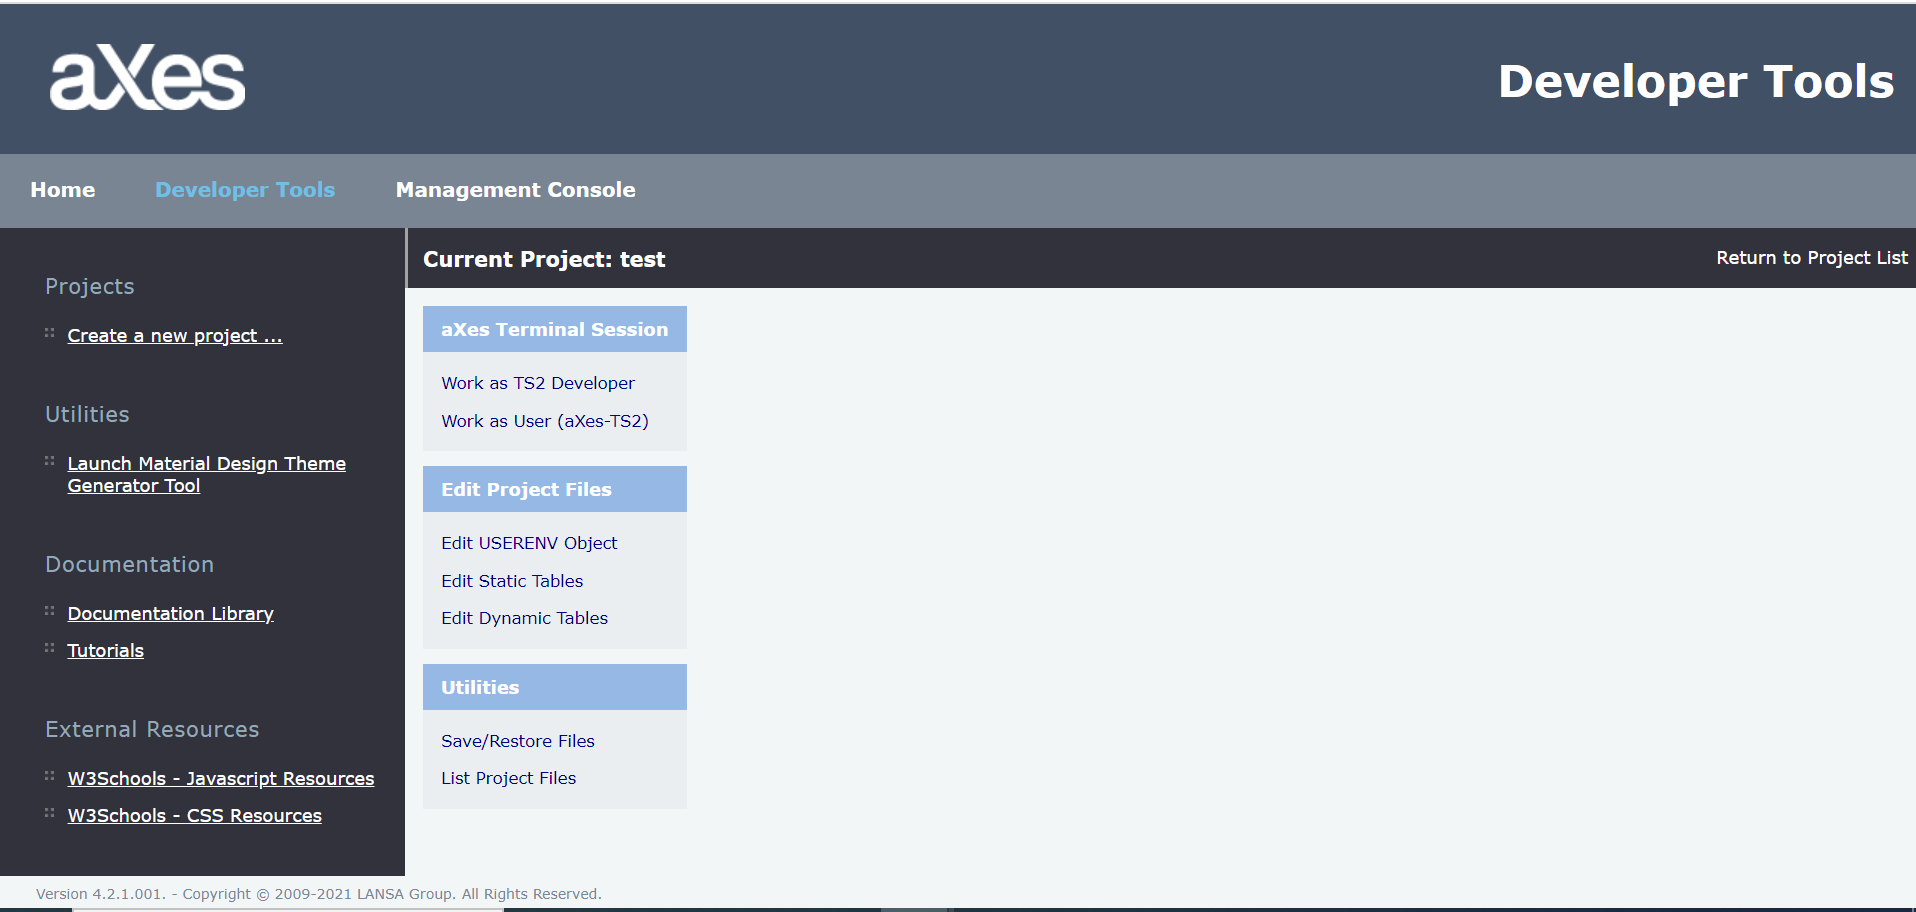
A message like this should appear:
Close the Projects Home Page now.
While learning to use eXtensions is it common to have a private or personal project. However, when working on a real project you should create just a single project that all the developers on the project work within. Projects are discrete entities and cannot be merged.
You have completed this tutorial and are ready to start the next tutorial.